 (Image via
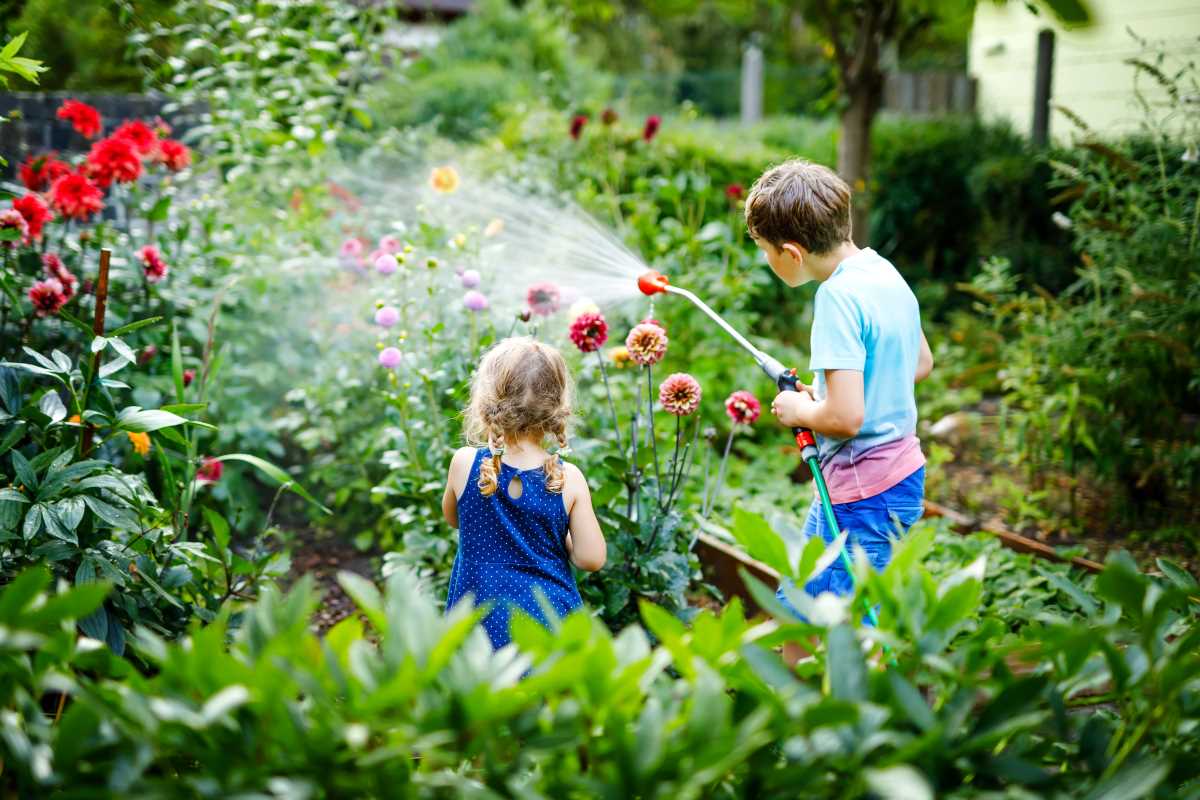
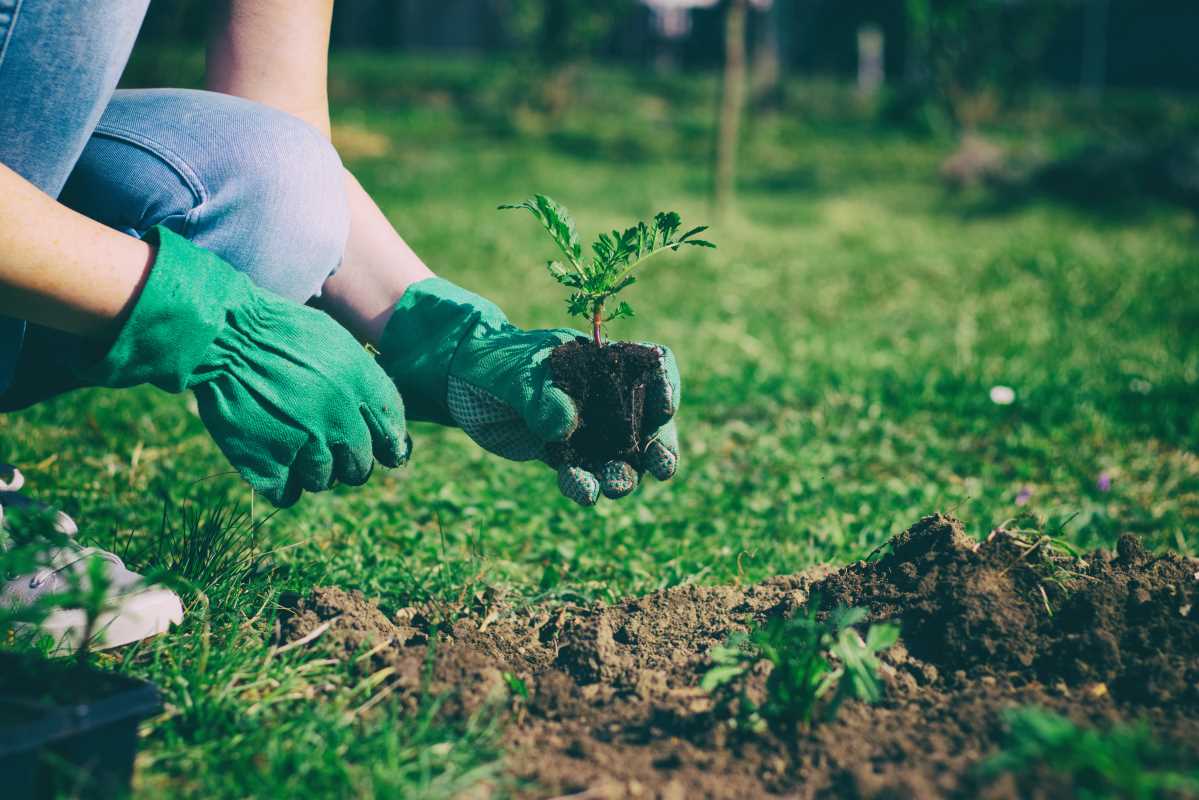
Understanding your soil forms the foundation of every successful yard project. Begin by testing a manageable area rather than tackling the entire space at once. This approach lets you observe the texture, notice how water moves through the soil, and identify any potential issues before planting. By starting small, you build confidence and gain valuable insights that guide your next steps. Paying attention to these early details allows you to make thoughtful choices as you plan and prepare your yard, setting yourself up for satisfying results and a healthier outdoor space.
Every step you take now saves time and effort later. Testing and improving your soil helps plants thrive and reduces future work. You will see healthier growth, stronger roots and fewer pests when the base is solid. Let’s dive into simple ways to check what you have and make it better.
Understanding Soil Composition
Soil contains minerals, organic matter, air and water in varying amounts. Minerals come from rocks breaking down over time. Organic matter includes leaves, grass clippings and compost. Together, these parts determine how well water and nutrients move and stay in place.
Feeling the soil takes you a long way. Grab a handful, squeeze gently and see how it holds shape. Crumbly soil with bits of organic matter signals good structure. If it feels like wet mud or falls apart like sand, you know you need to make changes. These simple tests guide your next moves.
Testing Soil at Home
Collect soil samples from three spots in your yard to get an average. Dig down about six inches and take a bit from each spot. Mix these together in a clean bucket to avoid skewed results. Dry a handful at room temperature for consistent texture checks.
- pH Test Strip. Place a strip into a small cup with two tablespoons of soil and water. Match color change against the chart to see whether soil is acidic, neutral or alkaline.
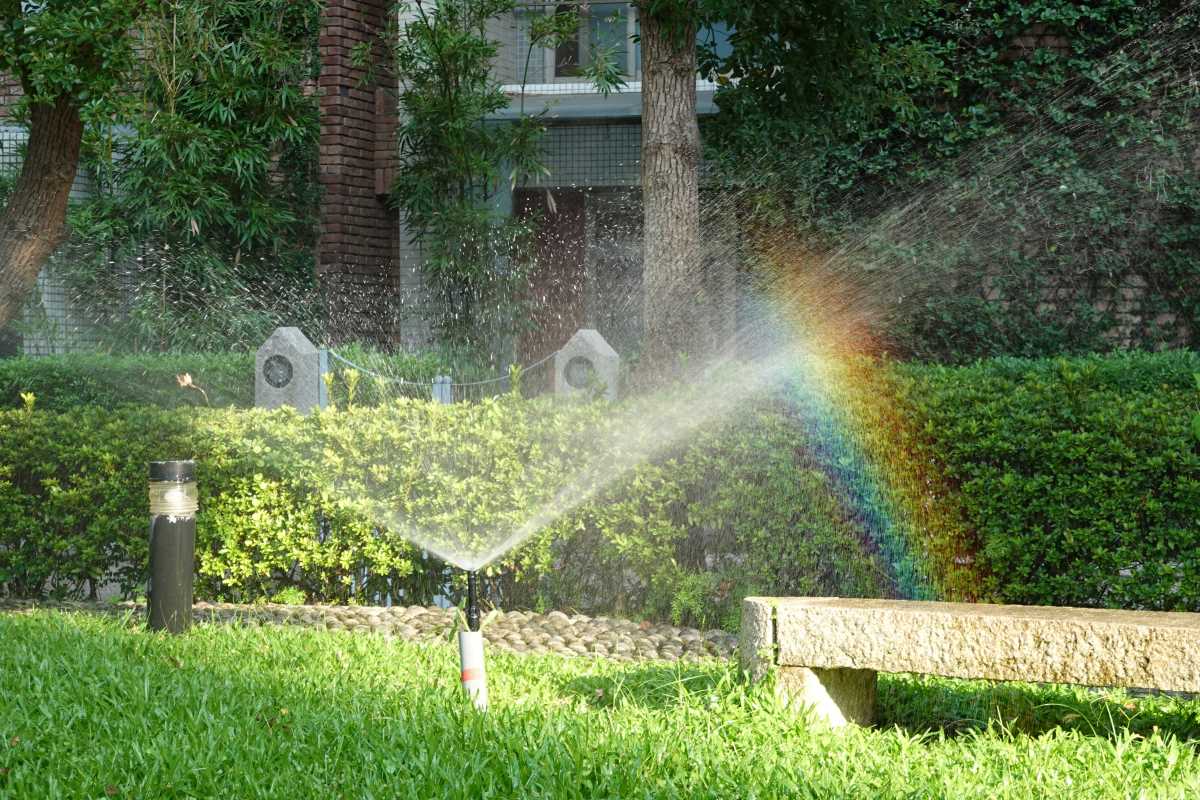
- Drainage Check. Fill a hole with water, let it drain fully, then fill again. Time how long the second refill takes to drain. Good soil drains within an hour, slow means compaction or too much clay.
- Soil Texture Jar. Fill a clear jar one-third soil, add water, shake and let settle. Sand drops first, silt next, clay on top. Compare layers to see which soil type dominates.
- Nutrient Simple Kit. Use a basic store kit to test nitrogen, phosphorus and potassium. Follow instructions on each test strip or tablet to see key nutrient levels.
Write down your results in a notebook. You can track changes when you add compost or other amendments. Seeing numbers helps you decide what to add or remove next season.
DIY Soil Improvement Techniques
- Add Compost. Mix in a few inches of homemade or bagged compost. It boosts organic matter, improves drainage and feeds microorganisms.
- Use Worm Castings. Sprinkle castings on top and gently rake in. They supply nutrients in a form roots absorb easily and support beneficial microbes.
- Incorporate Shredded Leaves. Chop leaves in fall or mow over a layer right under mulch. They break down and vent soil while releasing nutrients.
- Plant Green Cover. Sow clover, peas or beans off-season. These plants add nitrogen, loosen compacted bits and protect soil from erosion.
- Apply Mulch. Lay straw, wood chips or bark after planting. Mulch keeps moisture steady and prevents weeds from stealing nutrients.
Alternate these methods over time instead of doing them all at once. Gradual changes let soil life adapt and prevent sudden pH swings or nutrient overload.
Make small adjustments and observe how plants respond. Record observations like faster germination or fewer wilting spots to refine your mix next year.
Prevent Soil Problems
Compaction occurs when you walk or park on garden beds. Lay down stepping stones or wood planks to keep feet off soil. Aerate spots that look waterlogged or hard after rain by poking holes with a metal rod or garden fork.
Salt buildup in dry climates can stunt growth. Flush the soil with extra water every few weeks during hot spells. Avoid overusing chemical fertilizers that might leave residual salts behind.
Clay-heavy patches often suffocate roots. Mix in coarse sand in a 1:4 ratio of sand to soil to improve structure. Follow by adding compost for better water flow and root penetration.
To prevent erosion on slopes, plant ground covers with shallow roots. Grasses or low-growing herbs hold soil in place. Add a wattling barrier made from sticks and twine on steeper banks.
Maintenance and Monitoring
Mark your garden calendar for a quick check every six weeks during the growing season. Repeat the drainage and pH tests occasionally to catch shifts. Small dips or rises in pH can affect nutrient uptake, so stay ahead of changes.
Watch your plant leaves. Yellowing or burnt tips often signal nutrient imbalances or salt build-up. Address these signs with targeted foliar sprays or a light soil amendment.
Rotate crop types in veggie beds each year. Follow a leaf-heavy plant with a fruit-heavy one to balance nutrient uses. This strategy keeps soil fertility in check and cuts disease cycles.
Refresh mulch layers in spring and fall to maintain moisture and temperature levels. Watch for any new compaction or pooling water, then adjust grades or aerate to keep roots happy.
You now have a clear path from simple tests to solid solutions. Take small actions, note what works and keep your soil in good shape.
Healthy soil results in healthy plants, so treat your ground with care. Expect stronger growth and fewer issues each season.