 (Image via
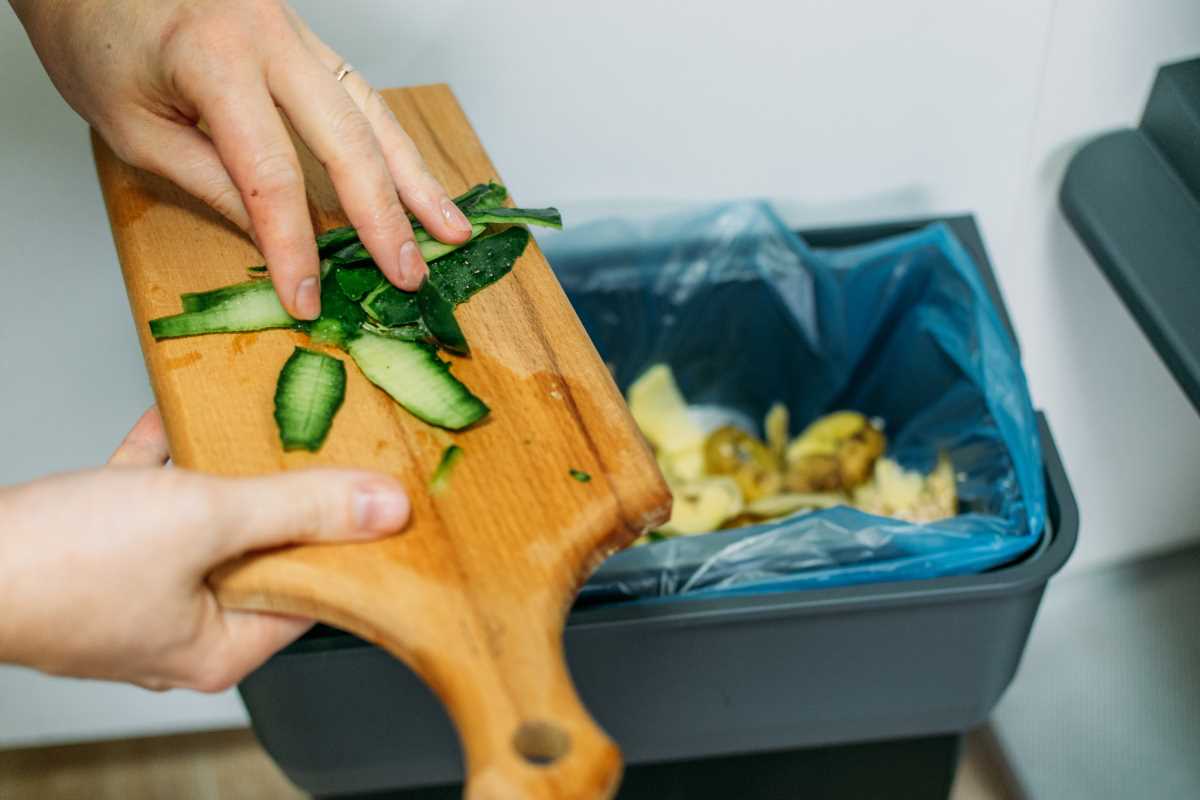
Creating a compact compost system at home can be simple and affordable. By recycling kitchen scraps and yard clippings, you can produce nutrient-rich soil even if you have limited outdoor space. Choose a location that offers both sunlight and shade so the compost stays active without drying out. Make sure you have enough space to lift the lid and mix the contents without hassle. For those living in apartments, a corner of your balcony offers a practical spot to set up a bin. If you have a small yard, placing your compost container along an unused edge keeps it accessible while staying neatly out of the way.
Next, decide what you hope to achieve. Maybe you want nutrient-rich soil for container plants. Or perhaps you’d like to cut kitchen waste by half. Write down your goals. This will keep you focused when gathering materials and maintaining your pile.
Assessing Your Space and Setting Goals
Measure the area where your compost bin will sit. A footprint of 2 feet by 2 feet fits most small setups. Make sure you can open and close the lid without hitting walls or railings. Think about drainage too—pick a spot where excess water can escape.
List any local rules or building regulations. Some communities restrict outdoor bins. A quick check with the homeowner’s association or property manager can save headaches later. Knowing what you need to follow helps you avoid fines or forced removal.
Selecting Affordable Materials
- Choose a sturdy container: repurpose a plastic storage box or build a wooden bin with scrap lumber.
- Gather ventilation parts: drill holes in the sides or use old pipes to ensure airflow.
- Line the bottom with netting: this keeps pests out and allows drainage.
- Use basic tools: a drill, saw, and gloves are often enough.
- Look for secondhand options: check online marketplaces or local swaps for free or low-cost bins.
- Consider budget-friendly lids: old cutting boards or reclaimed plywood work fine.
- Skip fancy gadgets: you don’t need sensors or automatic turners to start.
Assembling Your Composting Setup
- Drill eight to ten holes (1/2 inch) in each side of your container for airflow.
- Place netting on the bottom to keep insects out while allowing drainage.
- Layer coarse materials like twigs or straw first. This aids ventilation.
- Add green scraps (fruit peels, coffee grounds) and brown scraps (leaves, shredded paper) in alternating layers.
- Moisten each layer lightly—aim for a damp sponge consistency.
- Cover the bin with a secure lid to keep pests out and maintain moisture.
- Mark the date on your container with a waterproof marker.
- Store the bin in your chosen spot. Roll or slide it when you need to turn the pile.
- Keep a small scrap bucket in the kitchen to speed up daily compost additions.
Maintaining and Troubleshooting
Turn your compost every week or two. Use a garden fork or a long stick to mix the pile. This helps air reach microbes that break down waste. If you smell foul odors, add more brown materials like newspaper strips or dried leaves. This balances excess moisture or nitrogen.
Monitor moisture levels. When you squeeze a handful, fingers should feel damp but not dripping wet. If it’s too dry, spray water lightly. If it’s too wet, stir in dry scraps or open the lid a bit more to let steam escape.
If pests visit, your bin needs a tighter seal. Check your lid and any gaps. If rodents or flies still appear, add extra netting or a heavier cover. A good lid also prevents rain from getting in so the pile doesn’t get too wet.
If decomposition slows down, add a scoop of garden soil or finished compost. This jump-starts microbial activity. You can also lift off the top layer to expose fresh material to air and speed things up.
Maximizing Results in Small Areas
Use vertical space. Stackable compost bins allow you to add to the top while finishing compost at the bottom. This layered method saves ground space and provides ready soil faster. Build tiers from cinder blocks or repurposed bins.
Try a tumbler if you have limited mobility. These sealed barrels sit on a frame and rotate easily. Turn the handle a few times daily to mix the contents. Tumblers stay neater and reduce odors but cost a bit more than DIY bins.
Place finished compost in pots or raised beds. It adds nutrients and improves soil structure. Mix a ratio of 1 part compost to 3 parts potting mix for container gardens. This helps herbs, vegetables, and flowers flourish in small spaces.
Feed worms to create vermicompost. A small bin with red wiggler worms sits nicely on a porch shelf. They process scraps faster than traditional compost. Plus, worm castings make an excellent plant food you can dilute into a liquid feed.
Reuse graywater for compost moisture. Strain water from showers or sinks (without chemicals) into your bin. This reduces waste and keeps the pile hydrated. Just avoid laundry water with detergents that harm microbes.
Follow seasonal adjustments. During hot weather, shade the bin or mist it more often. In cold weather, wrap the sides with bubble wrap or move it to a sheltered spot to keep activity going.
With some planning and regular maintenance, your small system will produce rich compost in three to six months. You will cut waste and improve plant health without spending much on fertilizers.
Small spaces can yield impressive results. Try this approach and watch your garden grow.