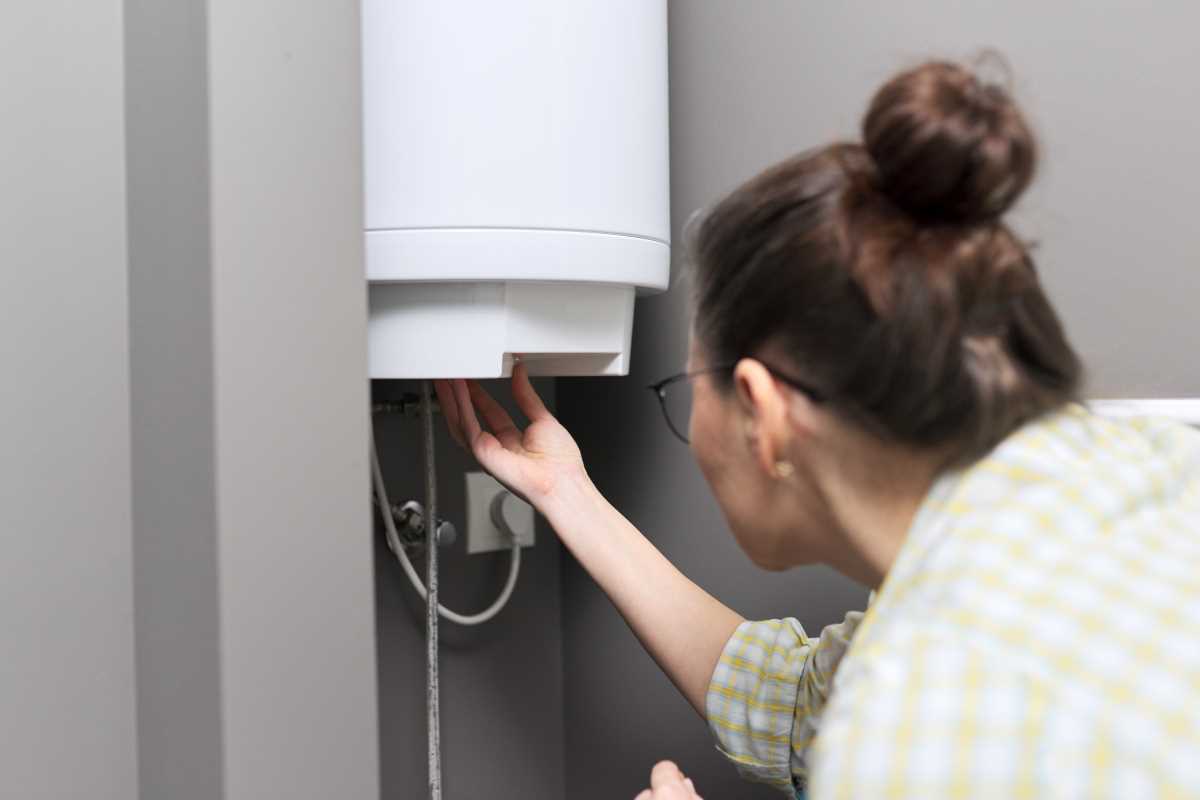
A leaky faucet can initially feel like a significant challenge, yet it often turns out to be a straightforward and satisfying task that conserves both time and money. Numerous homeowners have encountered the relentless drip, unsure of the next step, only to find the solution simpler than anticipated. With some patience and the appropriate tools, you can silence that irritating noise and curb unnecessary water waste. Tackling this home repair not only boosts your confidence in handling household issues but also contributes to a more sustainable living environment by reducing water consumption.
Imagine coming home after a long day to hear that reassuring silence instead of an incessant drip. By taking a hands-on approach, you gain confidence in your home maintenance skills while keeping your living space comfortable and efficient.
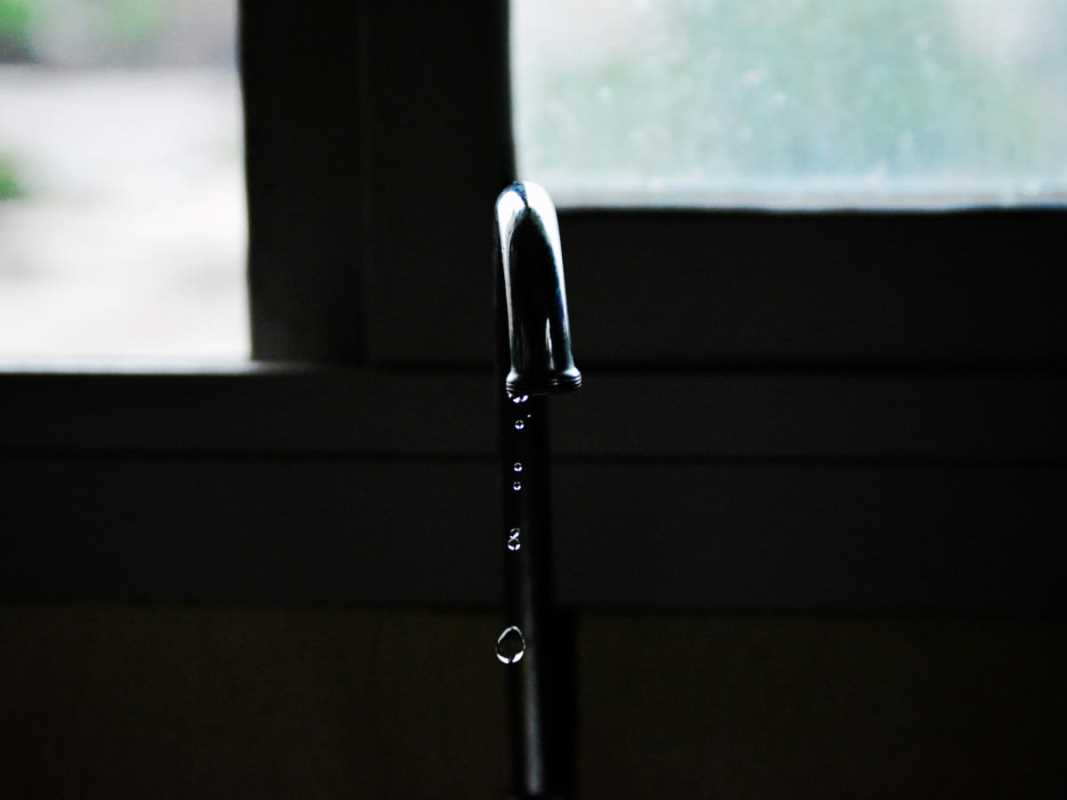
Why Is My Faucet Dripping?
A leaking faucet happens for a variety of reasons, and understanding the cause helps you decide how to approach the repair. Many times, the issue could be as simple as a worn-out washer or an improperly tightened part that needs attention.
Sometimes the culprit could be more serious, so it helps to know all the common reasons behind a persistent drip. Knowing these causes gives you the confidence to tackle the repair on your own.
- Worn or damaged rubber washers
- Loose or corroded parts
- Faulty seals or gaskets
- Excessive water pressure
- Mineral buildup due to hard water
What You’ll Need Before You Start
Before you dive into the repair, gather all the necessary tools and materials. This preparation step helps avoid interruptions and mistakes as you work on fixing your faucet.
Having a well-organized workspace also gives you peace of mind and makes the process enjoyable. A few small investments in the right tools can save you time and frustration.
- Screwdrivers (flathead and Phillips)
- Wrench or pliers
- Replacement washers or seals
- Cloth and cleaning solution
- Old toothbrush or small brush for cleaning
- Safety gloves
Step-by-Step Fixes for Dripping Faucets
Follow these detailed steps to fix your leaky faucet without needing professional help. Tackling the repair gradually ensures that you address each possible cause methodically and safely.
Make sure you have all your tools at hand. Taking a systematic approach might help you learn more about your faucet’s inner workings and help prevent future leaks. Begin by switching off the water supply and preparing your workspace.
- Turn off the water supply to the faucet. Find the shut-off valves under the sink and twist them until the water stops flowing.
- Open the faucet to release any remaining water in the pipes. This prevents unexpected sprays when you begin disassembling the faucet.
- Remove the faucet handle using a screwdriver or an Allen wrench. Be sure to keep the parts organized for reassembly.
- Inspect the inner components. Identify any worn or damaged parts and compare them with a diagram if available. Sometimes a dripping faucet results from a deteriorated washer.
- Replace the defective parts. Install new washers, seals, or gaskets as needed, and clean any buildup or residue from the faucet parts before reassembling.
- Reassemble the faucet carefully. Ensure all parts are tightly secured, but avoid over-tightening which might cause damage.
- Turn the water supply back on slowly, and test the faucet to check if the leak has stopped. Make small adjustments if necessary until the drip disappears.
Tips for a Smooth Repair
Taking a thoughtful approach while repairing your faucet can prevent small issues from turning into larger problems. Even if this is your first repair project, taking your time to read and understand the instructions can make all the difference.
If you feel stuck at any step, try to troubleshoot by reviewing your process or consulting additional resources. Keeping things simple and organized ensures that you remain calm throughout the process.
When to Call a Professional
Sometimes the repair might be beyond your comfort level or require more advanced skills. If you encounter significant resistance or discover extensive damage, calling in a professional can help prevent worsening the problem.
Not every situation calls for a DIY fix, and knowing when to seek expert help can save you more headaches in the long run. Respect your limits and choose professional assistance when needed.
- The leak persists after multiple repair attempts
- You notice major corrosion or damage to the faucet components
- The faucet has complicated mechanisms that confuse you
- You feel uncomfortable handling water or disassembling plumbing fixtures
You did it – you now have the tools and confidence to tackle that annoying leak. Embrace the small victory of handling home repairs on your own and appreciate the progress you’re making. Fixing a leaky faucet not only saves water but also improves your DIY skills for future projects.