 (Image via
Fresh paint on your interior walls brings new energy to any room and helps create a welcoming atmosphere. Taking the time to prepare your space and gather the proper tools sets you up for a smooth painting experience. Careful planning allows you to transform the look and feel of your home while keeping splatters and drips under control. By following simple steps and using the right techniques, you can enjoy a satisfying project that adds value and comfort to your living space. Even if you have never painted before, you can achieve a neat, professional finish that you will appreciate every day.
Taking control of this process means you work at your own pace, follow easy steps, and learn a few tricks along the way. Every detail—from picking supplies to cleaning up—matters for a smooth experience.
Gathering Supplies and Preparing Your Space
Start by gathering the supplies you need. You require basic tools and materials that help you paint neatly and efficiently. Ensuring you have everything on hand prevents interruptions and messy surprises.
Before you begin, prepare the room by removing or covering furniture, laying down drop cloths, and cleaning the walls. Keeping work areas clear and organized allows you to spend more time painting and less time cleaning up spills.
- Rollers and brushes
- Paint trays and buckets
- Painter's tape
- Drop cloths or old sheets
- Sponges, rags, and cleaning supplies
Choosing the Right Paint and Finish
Selecting the ideal paint involves considering several factors that affect both appearance and durability. You want a finish that complements your space while standing up to daily wear and tear.
Take a moment to weigh your options by exploring these key points:
- Decide on a color that brightens your room and suits your style.
- Choose a finish—matte, eggshell, or satin—that provides the right balance between style and ease of cleaning.
- Consider durability and washability, especially in areas that see a lot of activity.
- Explore different paint brands to find those known for low odor and easy clean-up options.
How to Cut In and Tape Like a Pro
Cutting in involves painting along edges, corners, baseboards, and trim with precision. This stage is crucial to achieving crisp, clean lines that make the finish look tidy. Gather a quality angled brush and ample painter’s tape for the best results.
Follow these steps to master your edging technique and keep your lines sharp without excess overlap:
- Apply painter’s tape along the baseboards, windows, and door frames. Press firmly to ensure the edge is sealed.
- Use a small, angled brush to carefully ‘cut in’ at the corners, just enough to create a guide for the roller.
- Work slowly and steady your hand to keep the line consistent.
- Remove the painter’s tape while the paint is still slightly wet to avoid peeling away any dried paint.
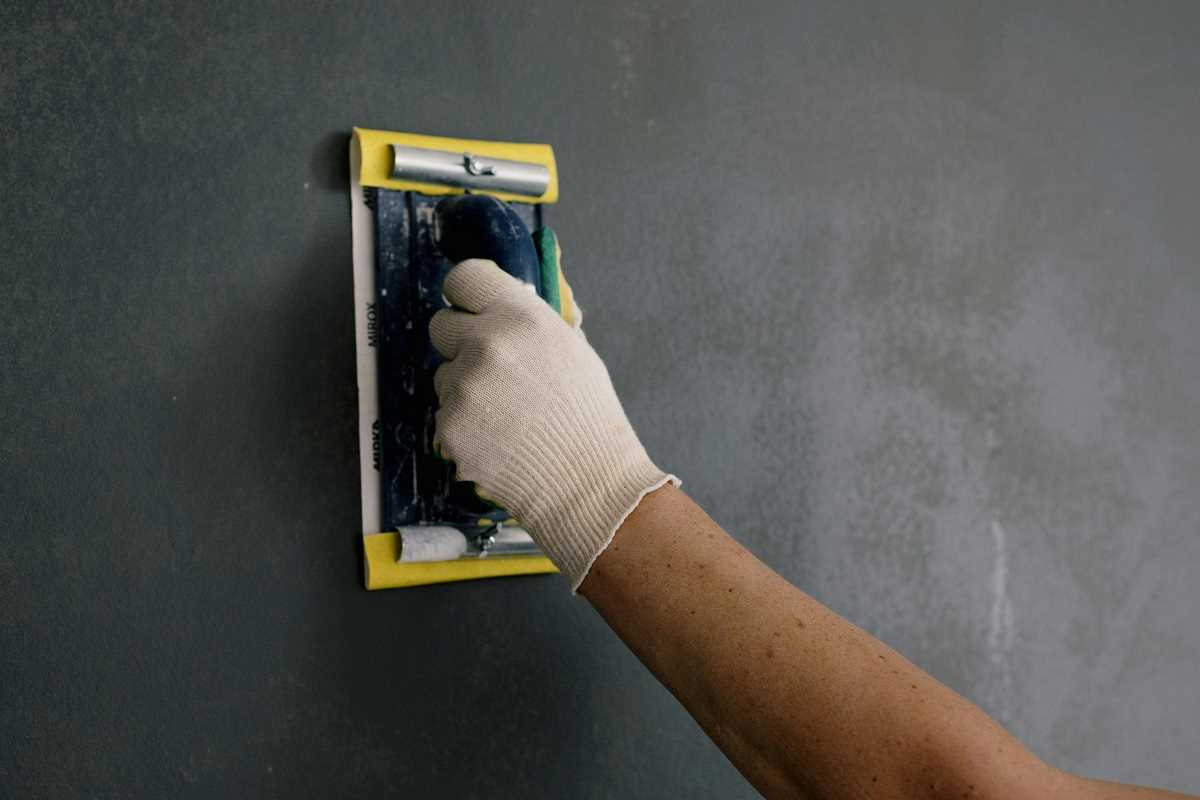
Rolling on the Paint: Techniques for Even Coverage
After you’ve finished the cut in, it is time to use a roller for broad surfaces. This step helps you get an even coat without brush marks. A well-loaded roller and a systematic approach mean fewer drips and streaks on the wall.
Keep these tips in mind to make rolling a breeze:
- Load your roller evenly by dipping it into the tray and rolling it along the tray’s ridges first.
- Work in small sections, ensuring each area gets a fresh, smooth coat before moving on.
- Maintain a wet edge to reduce visible marks as you complete each section.
- Keep an eye on drips and smooth them out quickly for a consistently flat finish.
Cleaning Up with Minimal Mess
Cleaning up promptly after painting—washing brushes, wiping surfaces, and using the right solvents—keeps your space tidy and extends your equipment's life. Careful preparation and cleanup ensure a smooth, professional finish for your room.
With the right supplies and patience, you gain confidence as you paint. Enjoy your creative journey!