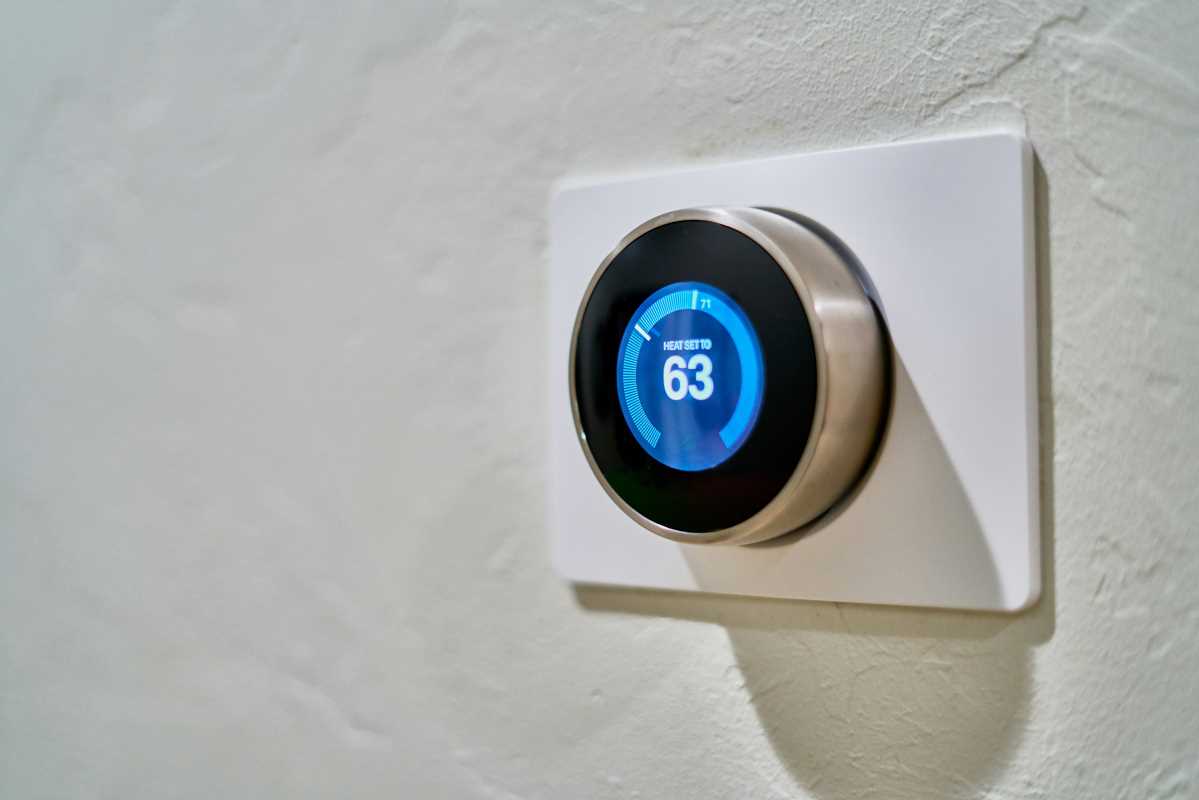
Changing the way you control your home's temperature may seem daunting if you haven’t tackled a thermostat installation before. This guide offers clear, step-by-step instructions to help you replace an old dial or digital thermostat with a smart device that adapts to your schedule. You will learn how to identify and connect each wire, securely mount the new unit, and check its operation—all without the need to hire a professional. By following along, you can enjoy a more comfortable living space and a system that adjusts itself to fit your daily habits.
Comfort That Adjusts to Your Daily Routine
Imagine waking up to a cozy home and returning from work to a perfectly chilled space without flipping a switch. A smart thermostat learns patterns in temperature preferences and occupancy, so you stay comfortable without fuss. Instead of fiddling with manual schedules, you let the device adjust temperatures based on your lifestyle. This kind of dynamic control keeps rooms at just the right level throughout the day, cutting out overcooling or overheating. That shift from manual tweaks to automatic habit matching turns your living space into an environment that responds to you.
Besides comfort, smart adjustments mean you stop wasting energy when no one’s around. Instead of forgetting to turn down the heat overnight or during errands, the device senses inactivity or follows your set geofenced boundaries. This behind-the-scenes optimization produces a quieter, steadier climate and can save money on each utility bill. You’ll find it straightforward: mount the unit on your wall, link it to your Wi-Fi, and watch algorithms handle the fine details.
The Smart Upgrade That Pays for Itself
By reducing power when you’re away or asleep, a self-learning thermostat prevents heating an empty home. This targeted operation often cuts runtime significantly, so your monthly statements show real savings. Instead of flipping a manual switch or returning to a hot house after vacation, the device tracks patterns and automatically adjusts settings to conserve energy.
Combining that auto adjustment with local weather data increases savings even more. When a cold front arrives, the thermostat adjusts temperatures ahead of time, preventing sudden spikes in usage. If summer days unexpectedly grow hot, cooling starts early to maintain a steady target without overworking your system. These features work together to neutralize energy spikes and reduce surprise fees.
Step-by-Step Installation Guide
- Turn Off Power at the Breaker (Purpose: prevent electrical shocks)
- Steps:
- Locate the breaker labeled “HVAC” or “Furnace.”
- Flip the breaker fully off.
- Confirm no voltage with a non-contact tester at thermostat wires.
- Cost: free.
- Insider tip: label the breaker with masking tape to avoid mistakes.
- Steps:
- Document Wiring Configuration (Purpose: prevent wiring mistakes)
- Steps:
- Remove faceplate screws and gently pull off cover.
- Take a high-resolution photo of each wire at its terminal.
- Match terminal labels on your new device.
- Cost: free (uses your phone).
- Insider tip: also jot connections on paper in case the photo is unclear.
- Steps:
- Mount the New Backplate (Purpose: secure the smart unit base)
- Steps:
- Thread wires through the backplate opening.
- Use a level to align before marking screw holes.
- Drill pilot holes and secure with anchors if needed.
- Cost: usually included; anchors under $5 if purchased separately.
- Insider tip: install one screw loosely, adjust angle, then tighten the second for alignment.
- Steps:
- Connect Wires to Corresponding Terminals (Purpose: ensure proper electrical connections)
- Steps:
- Strip wire ends ~¼ inch.
- Insert each wire into its labeled terminal (R, C, W, Y).
- Tighten screws firmly to prevent slipping.
- Cost: included screws with the unit.
- Insider tip: use a jumper strap if only one transformer wire is present.
- Steps:
- Power Up and Configure Settings (Purpose: activate and set up device)
- Steps:
- Flip breaker back on to power the unit.
- Follow on-screen prompts for system type and Wi-Fi setup.
- Enter schedule or enable learning mode.
- Cost: no extra cost (uses home Wi-Fi).
- Insider tip: use the companion app for remote scheduling instead of adjusting directly on the unit.
- Steps:
When you slide in the display, the interface often asks initial questions about comfort zones. That setup ensures your device starts collecting data right away. At this point, you can test both heating and cooling cycles to confirm each wire functions correctly. Also, consider triggering the fan independently to clear dust from vents periodically.
You can connect your smart thermostat with other home devices over Wi-Fi for voice control or remote access. Once everything registers on the network, you’ll see temperature adjustments reflect in real time on your phone.
Troubleshooting Common Problems
If the screen stays blank after installation, double-check the breaker and ensure the “C” wire supplies constant power. A missing common wire often leaves the device without power. Adding a separate power extender kit can fix this if you do not already have a dedicated “C” conductor.
If heating or cooling doesn’t activate, revisit each wire’s terminal and retighten clamps. A loose Y or W line can disrupt signals. If problems continue, reset the unit by holding down the main button for ten seconds and try setting it up again.
You can install a responsive temperature controller with basic precautions, clear photos, and careful wiring. Once installed, you will enjoy steady comfort and lower costs.
 (Image via


