 (Image via
Step into the world of home vermicomposting, where transforming kitchen scraps into nutrient-rich soil becomes an enjoyable adventure. This simple practice allows you to convert waste into valuable resources for your garden, all without the need for complicated techniques. As you dive into this guide, you will uncover practical steps and gather helpful tips that make the process of setting up your first worm bin both fun and fulfilling. By harnessing the natural processes in a controlled setting, you can turn everyday waste into a precious secret ingredient that will enrich your garden beds, benefiting both you and the environment.
The process is straightforward, and even if you are new to this, you will quickly understand how worm bins work and why they make a great addition to any garden setup. Every step in this guide brings you closer to creating a sustainable option that benefits both your household and the environment.
Why Vermicomposting? Benefits and Basics
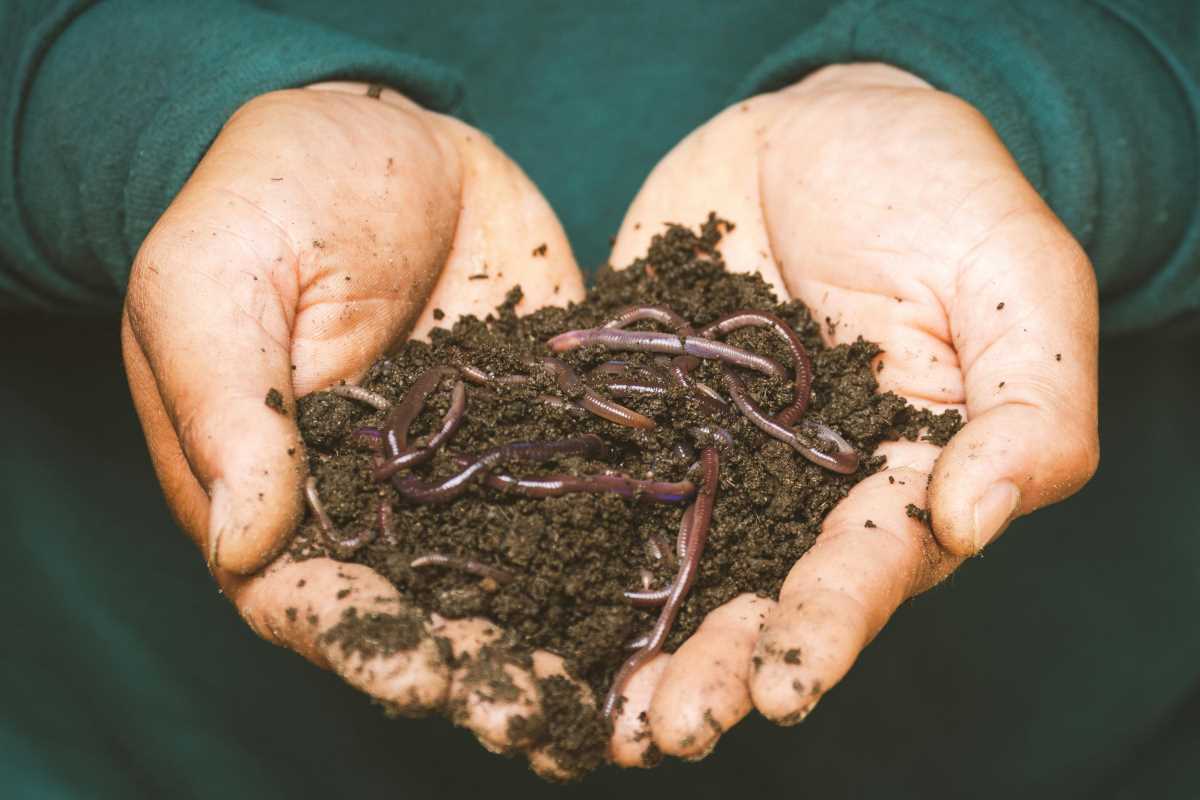
Vermicomposting offers an affordable and eco-friendly solution to handle organic waste. Cultivate worms and rely on their natural ability to decompose food scraps to create nutrient-rich compost that helps your garden thrive. This method also reduces landfill waste and adds living organisms to your soil, but the perks extend beyond just environmental benefits.
The advantages of starting a worm bin include:
- Reducing household waste and saving on trash disposal costs.
- Creating a natural fertilizer that enhances plant growth and soil health.
- Offering a fun and engaging activity that connects you with nature.
- Minimizing unpleasant odors typically found in traditional compost piles.
Choosing the Right Worm Bin Setup
Before you start vermicomposting, select the appropriate worm bin setup that fits your available space and lifestyle. A well-chosen bin can ensure that worms inhabit a comfortable environment, which is essential for turning scraps into valuable compost. Look for a design that provides ample space, ventilation, and easy access for maintenance.
Consider the following factors when you decide on your worm bin setup:
- Size: Choose a bin that fits your kitchen or garden space, keeping in mind that most worms need room to move around.
- Material: Look for sturdy, food-safe materials such as recycled plastic or treated wood to construct or purchase your bin.
- Design: Opt for a design that features multiple layers or sections to help separate fresh scraps from finished compost.
- Ventilation: Ensure your worm bin has proper airflow to prevent unpleasant odors and maintain a healthy moisture level.
- Accessibility: A bin with removable lids or panels makes it easier to monitor and harvest your compost when ready.
Getting Started: Setting Up Your First Worm Bin
Now that you understand the benefits and have chosen your worm bin, it is time to roll up your sleeves and set it up. Gather all tools and materials, and plan your workspace so that it stays neat and manageable. A small corner of your kitchen or a section of your backyard can be the perfect spot to start. Remember, vermicomposting does not need a spacious area; it thrives in a cozy setup.
When you assemble your bin, think of it as a small ecosystem waiting to burst with life. To motivate yourself, you can recycle kitchen waste into useful fertilizer. Start by placing bedding materials like shredded newspaper or coconut coir at the bottom of your bin. Then, add a handful of worms, preferably red wigglers, known for their hearty composting abilities. Layer your food scraps and bedding, making sure to maintain a balance between moisture and dry matter.
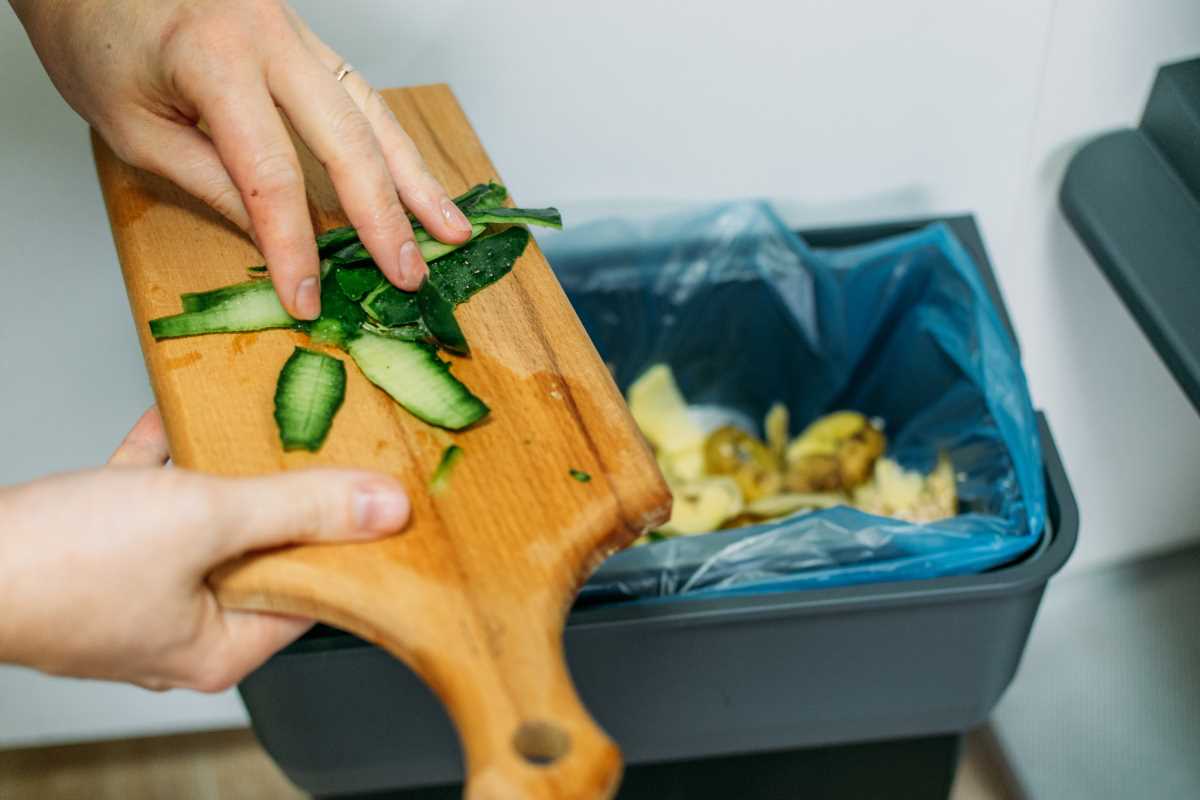
What Can and Can't Go in Your Worm Bin?
Knowing what goes into your worm bin helps prevent problems and keeps the worms healthy. Not all kitchen scraps are suitable since some can harm your worms or unbalance the moisture and pH of the compost. Use only materials that decompose well and nourish the worms.
Here are examples of what to include and avoid:
- Include: Vegetable peels, fruit scraps (except citrus in large amounts), coffee grounds, tea bags, crushed eggshells, and small amounts of bread or grains.
- Avoid: Dairy products, oily or greasy foods, meat scraps, excessive citrus, spicy foods, and any processed or chemically treated waste.
Maintaining Your Worm Bin: Tips for Success
Proper maintenance of your worm bin keeps the system balanced and running smoothly. Check moisture levels regularly, add food scraps slowly, and ensure good airflow. Do not overfeed the worms, as too much food can create an unhealthy, smelly bin. Observe how quickly the worms process organic matter and adjust your feeding accordingly.
Follow these tips to keep your worm bin healthy:
- Monitor moisture levels to mimic a damp sponge; if it is too dry, lightly spray water on the bedding.
- Turn or shake the bin gently every few weeks to mix fresh scraps with finished compost.
- Check for odors and adjust the feed or moisture if you notice any unpleasant smells.
Harvesting and Using Your Vermicompost
Harvesting your worm compost reveals the rewards of your effort. After a few months, you will find a dark, crumbly material that enriches your garden. Harvest when a clear distinction exists between worm castings and unprocessed scraps. Gently remove the top layers where food residue might be prominent and use the deeper layers, which are more valuable as compost.
To harvest your vermicompost, follow these simple steps: Separate the bin into sections and carefully relocate worms to the fresh bedding area. Then, sift out the compost and use it in your garden pots or outdoor beds to nurture your plants. The compost adds nutrients to your garden soil, improves soil structure, and water retention. Use it as mulch for vegetables or mix it with potting soil for indoor plants.
Harvesting and Using Your Vermicompost
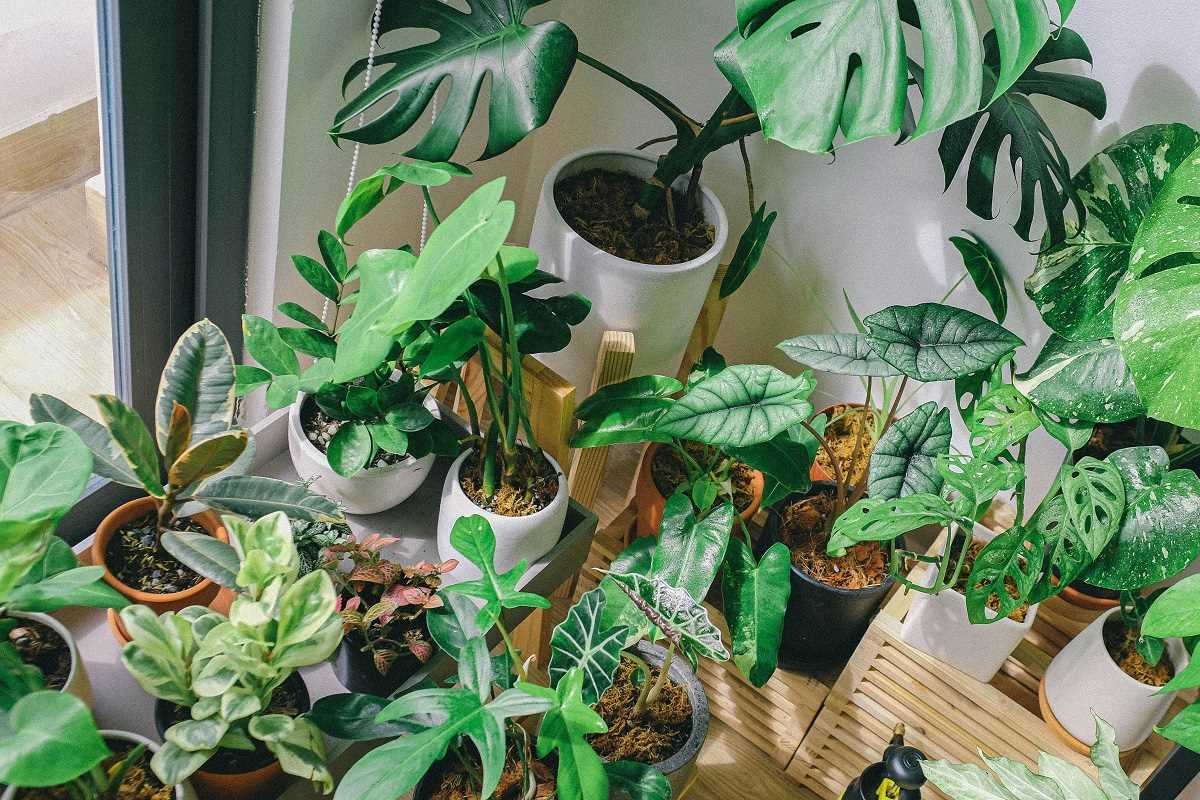
Once your worm bin compost is dark and crumbly, gently sift out the finished vermicompost and spread it around your garden beds or mix it into potting soil. This natural fertilizer boosts plant growth, improves soil health, and helps you garden more sustainably.
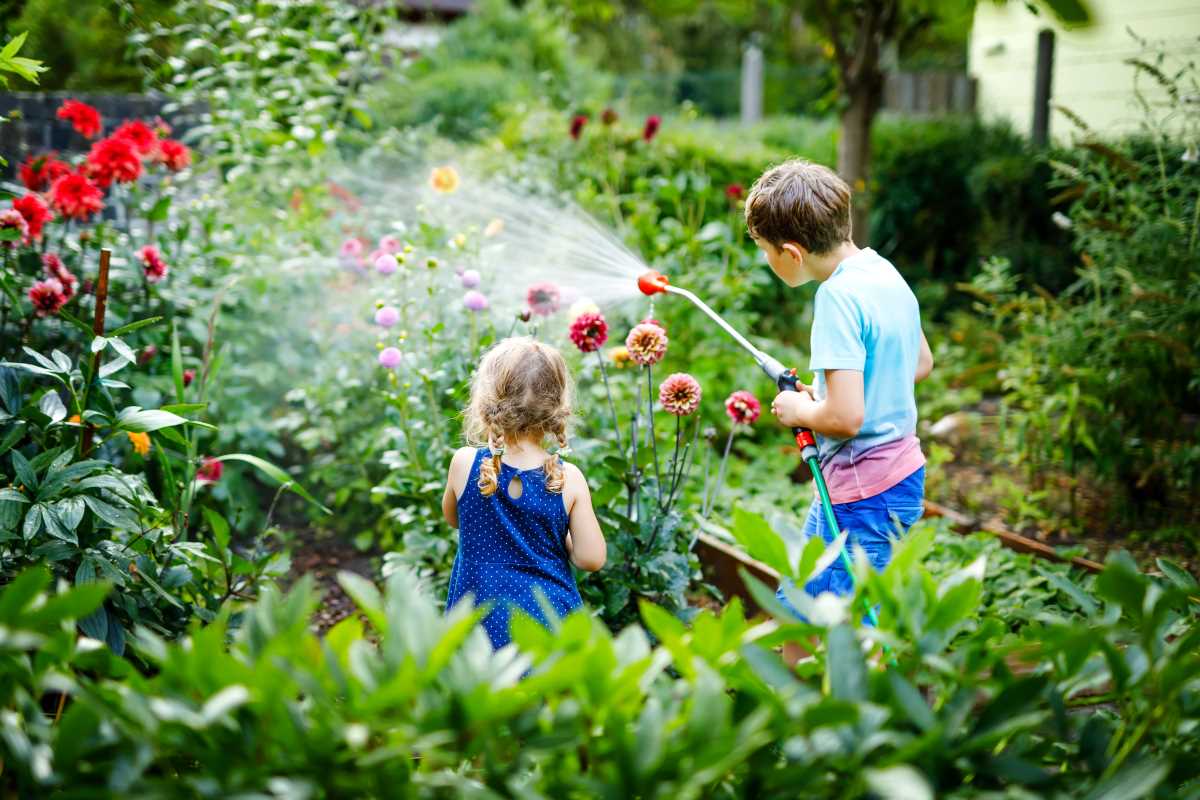
Vermicomposting transforms everyday waste into nutrient-rich soil. Enjoy creating a healthy ecosystem for your garden.